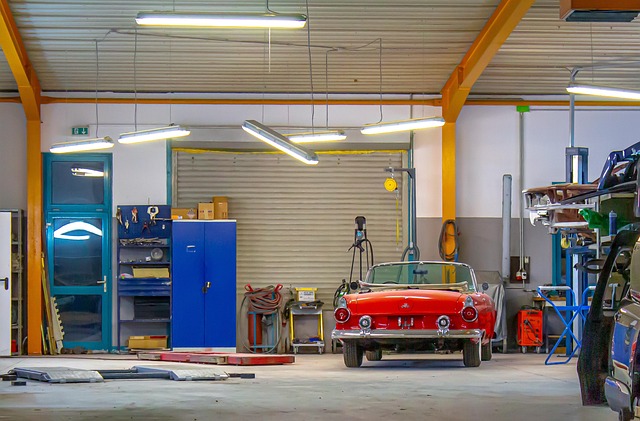


Safety glass, a crucial component in vehicle security, offers impact resistance but is not invulnerable. Cracks, chips, or punctures can occur due to external factors, requiring prompt action for safety and aesthetics. Replacing safety glass demands specialized tools, materials, and expertise. Key steps include assessing damage, gathering equipment, cleaning the area, applying adhesive, and carefully aligning the new glass. Consulting an auto repair shop ensures a correct replacement that maintains structural integrity and drivesafe conditions.
Tired of shattered visors or damaged windows? Learn how to tackle safety glass repair with this comprehensive guide. Understanding the unique properties and common issues affecting your safety glass is key. Armed with the right tools and materials, you’ll master the step-by-step process, ensuring a secure and effective replacement. Discover expert tips for successful safety glass repair, giving you the confidence to fix it yourself.
- Understanding Safety Glass and Its Common Issues
- Tools and Materials for Replacement
- Step-by-Step Guide to Safety Glass Repair
Understanding Safety Glass and Its Common Issues

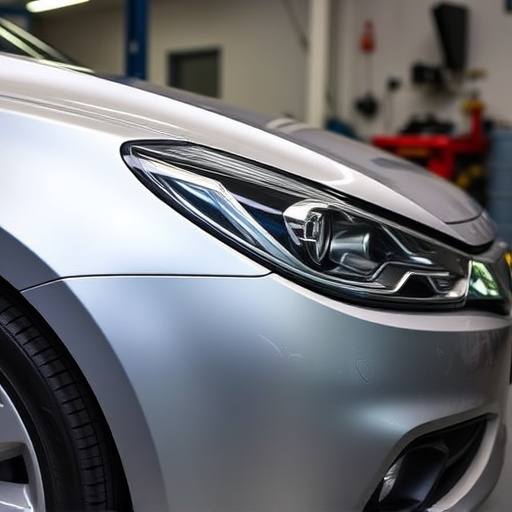
Safety glass, a revolutionary material designed to enhance safety and provide impact resistance, is commonly used in automotive windshields, windows, and doors. Its unique properties make it a game-changer in vehicle restoration and car damage repair, ensuring driver and passenger protection during accidents. This advanced material consists of multiple layers, typically including a polyvinyl butyral (PVB) or ionomer interlayer that holds the glass together even when broken, preventing sharp fragments from dispersing.
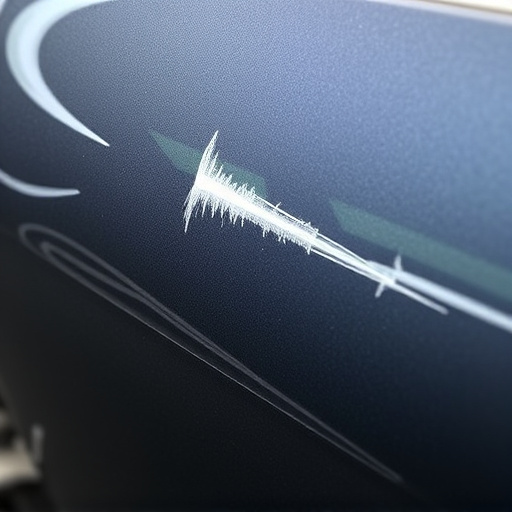
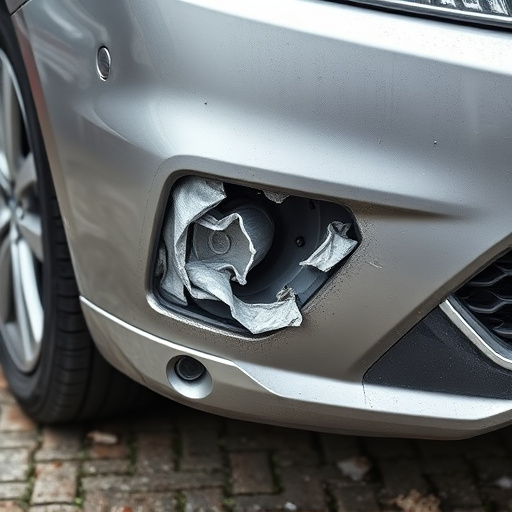
While safety glass offers excellent protection, it’s not immune to damage. Common issues include cracks, chips, and punctures, which can compromise its integrity. These problems may arise from various causes, such as road debris, weather conditions, or accidents. When these issues occur, prompt action is crucial for both safety and vehicle aesthetics. Considering the specialized nature of safety glass replacement, it’s best to consult an auto repair shop with expertise in car damage repair to ensure the job is done correctly, maintaining the structural integrity and overall performance of the glass.
Tools and Materials for Replacement

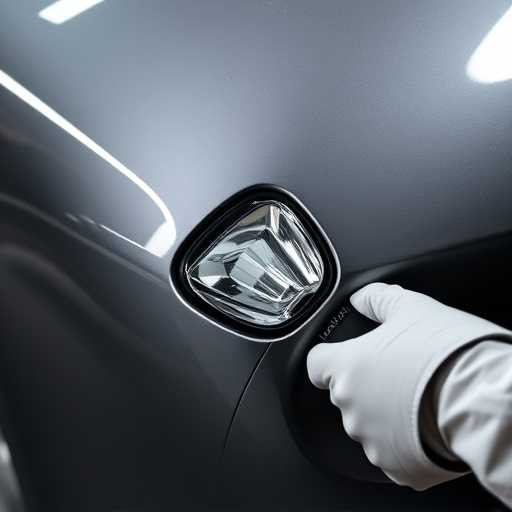
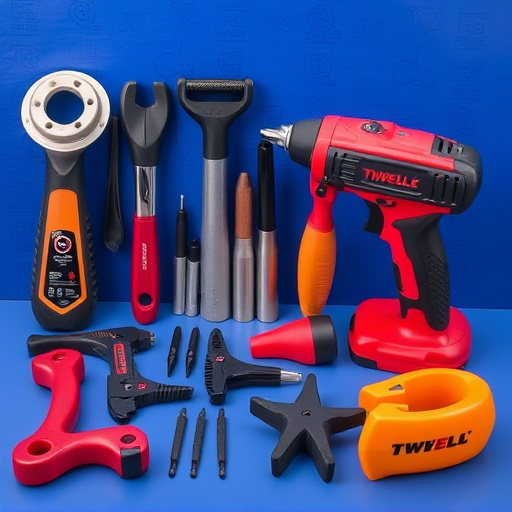
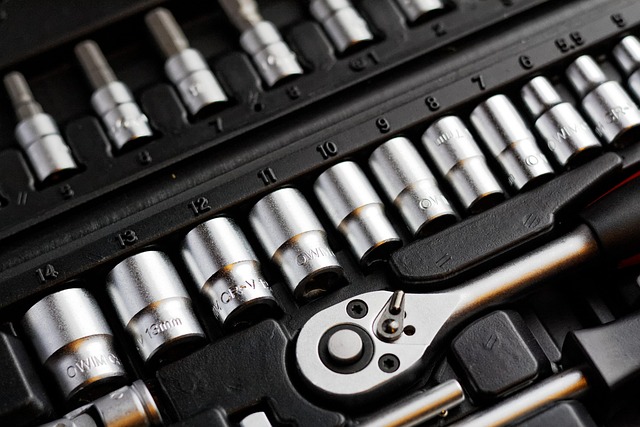
When it comes to safety glass replacement, having the right tools and materials is paramount. For a successful repair, gather essential items like a suction cup tool for securing the glass, a high-quality replacement safety glass pane that matches your original specifications precisely, and various types of adhesives or sealants designed specifically for automotive applications. Don’t forget protective gear, such as gloves and safety goggles, to shield yourself from debris during the process.
Additionally, consider investing in a set of precision screwdrivers and measuring tools to ensure accurate alignment and secure bonding. Reputable auto parts stores offer a range of options for both standard and specialized safety glass replacement needs, catering to various vehicle types and models. Remember, utilizing the correct materials and techniques is crucial not only for the integrity of the repair but also for ensuring your safety during post-repair driving, especially in cases like automotive collision repair or auto dent repair.
Step-by-Step Guide to Safety Glass Repair

Safety glass replacement can seem daunting, but with a step-by-step approach, it’s achievable for any beginner. Begin by assessing the damage – cracked or chipped safety glass requires immediate attention to prevent further harm. If the damage is minor, like a small chip, you might be able to temporarily tape over it until a permanent fix is possible. However, for larger cracks or complete shatters, replacement is the safest bet.
Gather your tools and materials: this includes a safety mask, gloves, a new piece of safety glass that matches the dimensions, and clear adhesive designed for auto applications. Once prepared, carefully remove any debris from the damaged area. Clean the surface thoroughly to ensure optimal adhesion. Apply the adhesive along the edges of the new safety glass, then carefully align and press it into place. Hold firm for the recommended time, usually a few minutes, before allowing it to cure completely according to the manufacturer’s instructions. This process, while requiring patience, is a crucial step in achieving a seamless vehicle restoration or auto dent repair.
Safety glass repair is a valuable skill to have, especially when it comes to ensuring the integrity of your home or workplace. By understanding the basics covered in this guide, from identifying common issues to following a straightforward step-by-step process, beginners can successfully undertake safety glass replacement and enhance their living or working environment. With the right tools and materials, you’ll be equipped to handle cracks, chips, and other damages, promoting both safety and aesthetics.