


Safety glass, while known for its durability, can have manufacturing flaws. Thorough inspection by trained technicians is vital before installation to prevent compromising effectiveness. A multi-step process using visual exams, magnifying tools, ultrasounds, and pressure testing ensures defect detection. Common installation flaws like improper alignment and inadequate sealing must be avoided. Leveling, checking misalignments, proper sealing, and leak detection ensure safer, more durable safety glass replacement results.
Ensure your safety with a thorough inspection of new safety glass before installation. This guide equips you to identify potential flaws that could compromise structural integrity. From understanding safety glass properties and common flaws to mastering inspection tools and techniques, you’ll learn essential skills for a secure replacement. Discover how to spot subtle issues and prevent accidents by following these expert tips tailored for safety glass installation.
- Understanding Safety Glass Properties and Flaws
- Tools and Techniques for Comprehensive Inspection
- Common Installation Flaws and How to Spot Them
Understanding Safety Glass Properties and Flaws
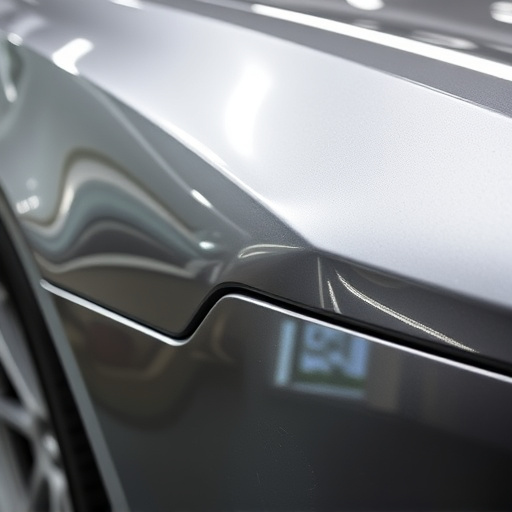
Safety glass is designed to be impact-resistant and provide superior protection, making it a popular choice for vehicle windshields and other high-traffic areas. However, like any material, it can have flaws that may compromise its effectiveness. Understanding these potential issues is crucial when inspecting new safety glass intended for installation. Common flaws include air bubbles, cracks, scratches, and misalignments during the manufacturing process. These defects can be subtle and difficult to detect with the naked eye, which is why a thorough inspection is essential before installing safety glass in vehicles or other applications.
When evaluating new safety glass, it’s important to consider both visual and functional aspects. Look for any signs of distortion, chips, or uneven surfaces that might indicate manufacturing flaws. In an auto repair shop setting, where safety glass replacement is a common service, technicians are trained to inspect carefully, using specialized tools when needed. Even minor flaws can affect the integrity of the glass during impact events, such as a car accident or dent removal procedures. Proper inspection ensures not only optimal performance but also enhances customer safety and satisfaction with the final repair, whether it’s for auto damage repair or other applications requiring high-quality safety glass.
Tools and Techniques for Comprehensive Inspection
When inspecting new safety glass for installation flaws, a comprehensive approach using the right tools and techniques is essential. Start with a thorough visual examination, checking for any visible cracks, chips, or distortions. Use a bright light source to inspect the edges and corners, where issues may go unnoticed. Magnifying glasses or specialized inspection tools can help uncover subtle defects that might be hard to detect by eye.
For a deeper analysis, employ non-destructive testing methods such as ultra-sonics or infrared thermography. These advanced techniques can identify hidden flaws like air bubbles, delaminations, or poor bonding. Additionally, consider using pressure testing for laminated glass to ensure it meets safety standards. Remember, meticulous inspection during the installation process is key to preventing future issues with safety glass replacement and collision damage repair, ensuring superior quality and enhanced vehicle safety.
Common Installation Flaws and How to Spot Them
Common Installation Flaws and How to Spot Them
When it comes to safety glass replacement, whether for your home or vehicle like a Mercedes Benz repair, auto body shop professionals must be vigilant in identifying potential flaws during installation. One of the most common issues is improper alignment, which can lead to gaps or overlapping areas, compromising the structural integrity of the glass. To spot this, carefully examine the glass panels for any misalignment relative to the frames or existing glass. Another frequent flaw is inadequate sealing, where air or moisture can penetrate through the edges, causing condensation or even weakened structural integrity over time—a concern especially pertinent in collision repair services.
Inspecting for these flaws requires a keen eye for detail. For proper alignment, use a level to ensure the glass sits flat and parallel to the surface. Check for any visible gaps or overlaps that could indicate misalignment. With sealing, apply pressure around the edges of the glass to verify a secure fit. Look for signs of air leaks or water intrusion, which might signal inadequate sealing. Being proactive in identifying these common installation flaws ensures a safer, more durable solution during safety glass replacement processes.
When inspecting new safety glass for installation flaws, a thorough understanding of safety glass properties and common issues is key. Using the right tools and techniques allows for a comprehensive evaluation. By being vigilant in identifying installation flaws, such as improper fit, cracks, or air pockets, you can ensure the safety and longevity of the glass. Regular checks and prompt addressing of any defects are essential for a seamless safety glass replacement process, enhancing both structural integrity and aesthetic appeal.